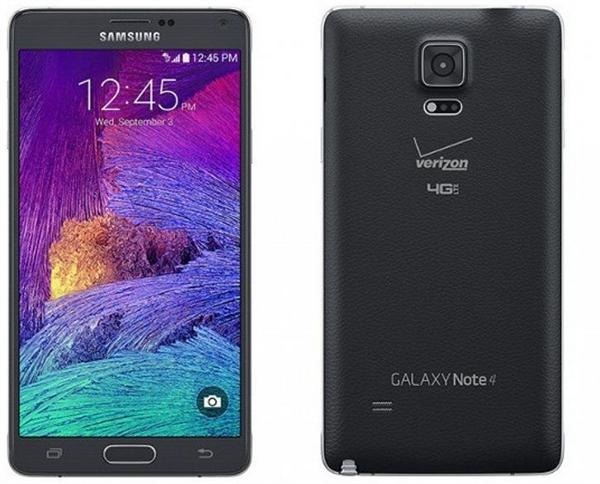
Here are the list of files that you will require to let you root the Verizon Note 4:
ADB – minimal_adb_fastboot_v1.3.1_setup.exe
Odin – Odin3 v3.09.exe & Odin3.ini
Samsung Mobile Phone Drivers (Windows Only) – SAMSUNG_USB_Driver_for_Mobile_Phones.exe
TWRP – twrp-3.0.2-0-trltevzw.tar.md5
SuperSU – BETA-SuperSU-v2.71-20160331103524.zip
Bootloader Unlock – samsung_unlock_n4-fix
Kingroot (Temporary Root App) – NewKingrootV4.85_C139_B255_en_release_2016_03_29_1 05203.apk
Download them from this Google drive link – Do not leave anything as you will need them all.
You will need these devices:
Samsung Galaxy Note 4 on Verizon updated to 5.1.1 (BPA1)
PC with Windows
Micro USB Cable
MicroSD Card
MicroSD Card Reader/USB Adapter (To Format MicroSD Card)
Here are the steps on how to root Verizon Note 4.
Step 1
First, you will need to install the USB drivers. So install them using SAMSUNG_USB_Driver_for_Mobile_Phones.exe.
Step 2
Disable encryption on your phone and micro SD card. Then, factory reset your Verizon Galaxy Note 4.
Step 3
Now, we must prepare our Galaxy Note 4 Verizon edition for rooting. Do the following.
Settings > Security > Reactivation Lock | Disabled
Settings > Security > Unknown sources | Enabled
Go to Settings > about and tap on build 5-6 times to enable developer options. This will make developer options appear on your phone.
Settings > Developer Options > USB debugging | Enabled
Settings > Developer Options > Verify app via USB | Enabled
Move the file NewKingrootV4.85_C139_B255_en_release_2016_03_29_1 05203.apk included with this guide to your phone’s download folder. When plugged in with a usb cable to your computer it’s usually located at “SAMSUNG-SM-N910V\Phone\Download”.
Step 4
Install adb on your computer using minimal_adb_fastboot_v1.3.1_setup.exe. Make sure it installs to C:\Program Files (x86)\Minimal ADB and Fastboot.
Now copy samsung_unlock_n4-fix and BETA-SuperSU-v2.71-20160331103524.zip to the “Minimal ADB and Fastboot” folder.
Connect your Verizon Galaxy Note 4 to the computer and fire up command prompt in the “Minimal ADB and Fastboot” folder (right click while holding shift key will give you option to open command prompt in the folder).
Step 5
Type in this command.
adb devices
If some numbers shows up, your phone is detected. Now type in this. Make sure your phone is not locked or screen is off when you type this, otherwise you will get an error.
adb push samsung_unlock_n4-fix /data/local/tmp/
Step 6
In your phone, go to My Files > Device storage > Download > NewKingrootV4.85_C139_B255_en_release_2016_03_29_1 05203.apk to install Kingroot. After it installs click close, not open. Close all running apps.
Open Kingroot on your phone > scroll down and and click the button to start temp root. You should now get root access in 1-2 minutes. If not, you will have to redoo the process from Step 4.
This gives you temporary root on your Verizon Note 4 and this can crash your phone too. If any app asks you for root access, click yes.
To check your root status, download this app from play store and try it yourself. It is free.
If it says you are rooted, type in this in the command prompt on your computer.
adb shell
su
cd /data/local/tmp/
chmod 777 samsung_unlock_n4-fix
chown root.root samsung_unlock_n4-fix
./samsung_unlock_n4-fix
This will reboot your Verizon Note 4. Don’t do anything. Remove the battery of your phone and unplug the USB cable.
After 10 seconds, put the battery back in and turn the phone on. Connect your phone again and type in these commands again.
adb shell
su
cd /data/local/tmp/
chmod 777 samsung_unlock_n4-fix
chown root.root samsung_unlock_n4-fix
./samsung_unlock_n4-fix
Step 7
Install Super Sume Pro from play store. It costs about $3 and you will need it to complete root process. Open Super-Sume Pro, click the home button, and open Kingroot.In Kingroot apply temp root. Click the multi tasking button and switch over to Super-Sume Pro. When it asks for Root grant it. Click the big blue button and follow the instructions. It may take a minute or two. Shut the phone down after it’s done.
Step 8
Now we will be flashing a ROM that gives you root access but before that we need TWRP, a custom recovery that let us do that.
For that, we will go into download mode of the phone by pressing and holding volume down + power + home. If screens says “Downloading”, we are ready to go.
Fire up Odin3 v3.09.exe > click AP > browse for twrp-3.0.2-0-trltevzw.tar.md5 and click Start. It will reboot and gives you a black screen. Hold volume up + power + home to enter TWRP. Do this fast.
Step 9
In TWRP, click Advanced and then ADB Sideload. Swipe to start adb. Make sure your phone says sideload now.
Type this on the computer.
adb sideload BETA-SuperSU-v2.71-20160331103524.zip
You may need to re-enter ADB Sideload. Type this in.
adb sideload Emotion-TW-5.1.1-nightly-r21-RC1-SM-N910P.zip
That is it – this will install a custom ROM on your phone and give you permanent root access on your Galaxy Note 4 Verizon edition.
